With the rapid move to on-line teaching, most timetables will be outdated, however, there is another tool you can use to help to communicate events to your students.
Each Brightspace unit has its own schedule or calendar which can be used to communicate with your students about when events will take place. As well as being visible to students on each module’s homepage, the student’s Brightspace homepage also has an aggregated calendar, showing events from all of the student’s unit calendars. Calendars are also available on the Pulse App.
Assignments or any content set with a ‘Due Date’ will automatically appear in the Unit calendar, it is also possible to add events manually.
Viewing the Calendar
On the Unit homepage, scroll down to the calendar and either click on the Calendar title or the dropdown menu and select ‘Go to Calendar’
By default, only the Unit calendar is visible, however other Unit calendars can be selected and added. Changes are profile linked and become your default view.
Caution: depending on the number of Units you can access, selecting ‘Show All Calendars’ could become very confusing.
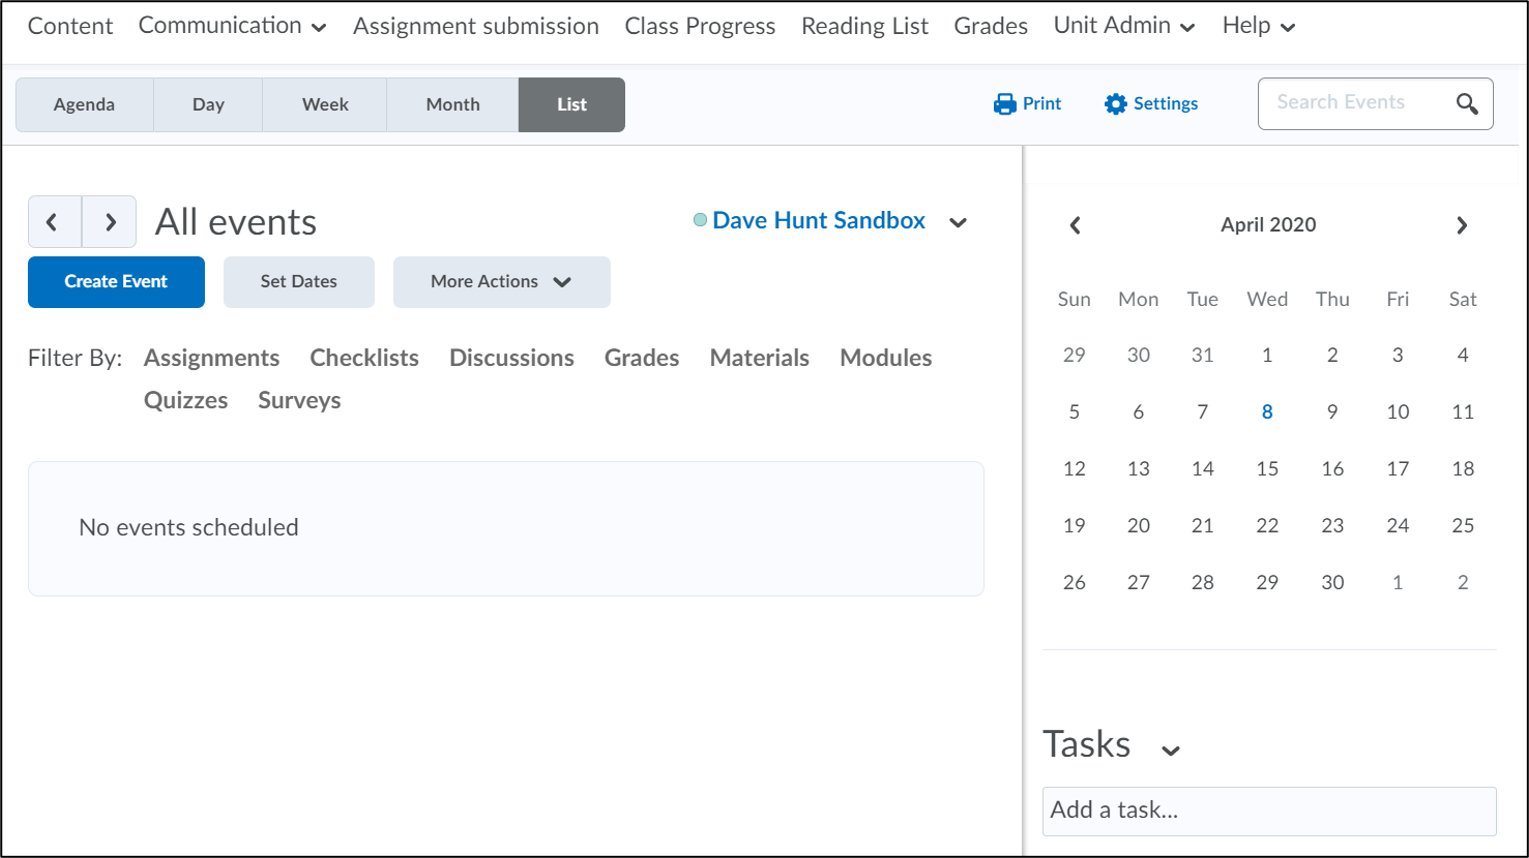
Create an Event
- Click the ‘Create Event’ button and enter a title and description for the event.
- Note: the ‘Add Content’ button allows you to navigate to a topic in the modules and link the event.
- Scroll down and select the Attendees, the default is ‘Everyone in the Unit Offering, but can be restricted to sections or groups.
- Set the required date and time for the event.
- Set any recurrences if this is a regular event.
- ‘Add Restrictions’ allows you to add a start date (Hidden until), an end date (Hidden starting), set dates between which the event is visible, or to hide the event.
- Enter a location for the event, this can be either a physical location (F203) or an on-line location (Panopto Webcast).
- When all details have been completed, click ‘Create’.
The event will appear in the Calendar list.
Edit an Event
- In the calendar, click on the title of the event to expand it.
- Click the drop down menu to Edit, add content or delete.
Note: The Task section is profile linked and not shared with other users.
To view the full Calendar User Guide click here.
For any further guidance contact your Faculty Learning Technologist.


